Django ChatGPT Tutorial Series:
- Introduction
- Create Django Project with Modern Frontend Tooling
- Create Chat App
- Partial Form Submission With Turbo Frame
- Use Turbo Stream To Manipulate DOM Elements
- Send Turbo Stream Over Websocket
- Using OpenAI Streaming API With Celery
- Use Stimulus to Better Organize Javascript Code in Django
- Use Stimulus to Render Markdown and Highlight Code Block
- Use Stimulus to Improve UX of Message Form
- Source Code chatgpt-django-project
In this article, we will keep using Stimulus controller to add Markdown rendering and code highlighting feature to our Django project.
Install Packages
$ npm install marked highlight.jsNotes:
markedis a Markdown parser written in JS, we will use it to render markdown to HTML in the browser.highlight.jswill help us to highlight code block in the markdown.- We still install npm packages and import them to our frontend project, instead of adding CDN links to the Django templates.
Stimulus Controller
Create frontend/src/controllers/markdown_controller.js
import { Controller } from "@hotwired/stimulus";
import { marked } from "marked";
import hljs from "highlight.js";
import "highlight.js/styles/tomorrow-night-blue.css";

export default class extends Controller {
  connect() {
    this.parse();
  }

  parse() {
    const renderer = new marked.Renderer();
    renderer.code = function (code, language) {
      const validLanguage = hljs.getLanguage(language) ? language : "plaintext";
      const highlightedCode = hljs.highlight(code, {
        language: validLanguage,
      }).value;
      return `<pre><code class="hljs ${validLanguage}">${highlightedCode}</code></pre>`;
    };
    const html = marked.parse(this.element.dataset.content, { renderer });
    this.element.innerHTML = html;
  }

}
Notes:
- We import the
marked,highlight.jsand css files at the top. - Webpack will take the responsibility to bundle them and make sure they are loaded in the browser.
- When Stimulus controller instance is attached to DOM elements,
connect()will be called. markedwill read raw markdown fromdata-contentattribute, and render it to HTML, and then set it back toinnerHTMLof the element.highlightwill highlight code block in the markdown.
Template
Update chatgpt_django_app/templates/message_item.html
<div id="message_{{ instance.pk }}">
  {% if instance.role_label == 'User' %}
  <div class="p-4 m-4 max-w-full text-black rounded-lg bg-sky-100" data-controller="markdown" data-content="{{ instance.content|escape }}"></div>
  {% else %}
  <div class="p-4 m-4 max-w-full bg-gray-200 rounded-lg" data-controller="markdown" data-content="{{ instance.content|escape }}"></div>
  {% endif %}
</div>
Notes:
- We add
data-controller="markdown"to the element. - And set
data-content="{{ instance.content|escape }}", the data attributes will be processed by the Stimulus controller.
If we rerun npm run start, and check the message list, we can see something like this:
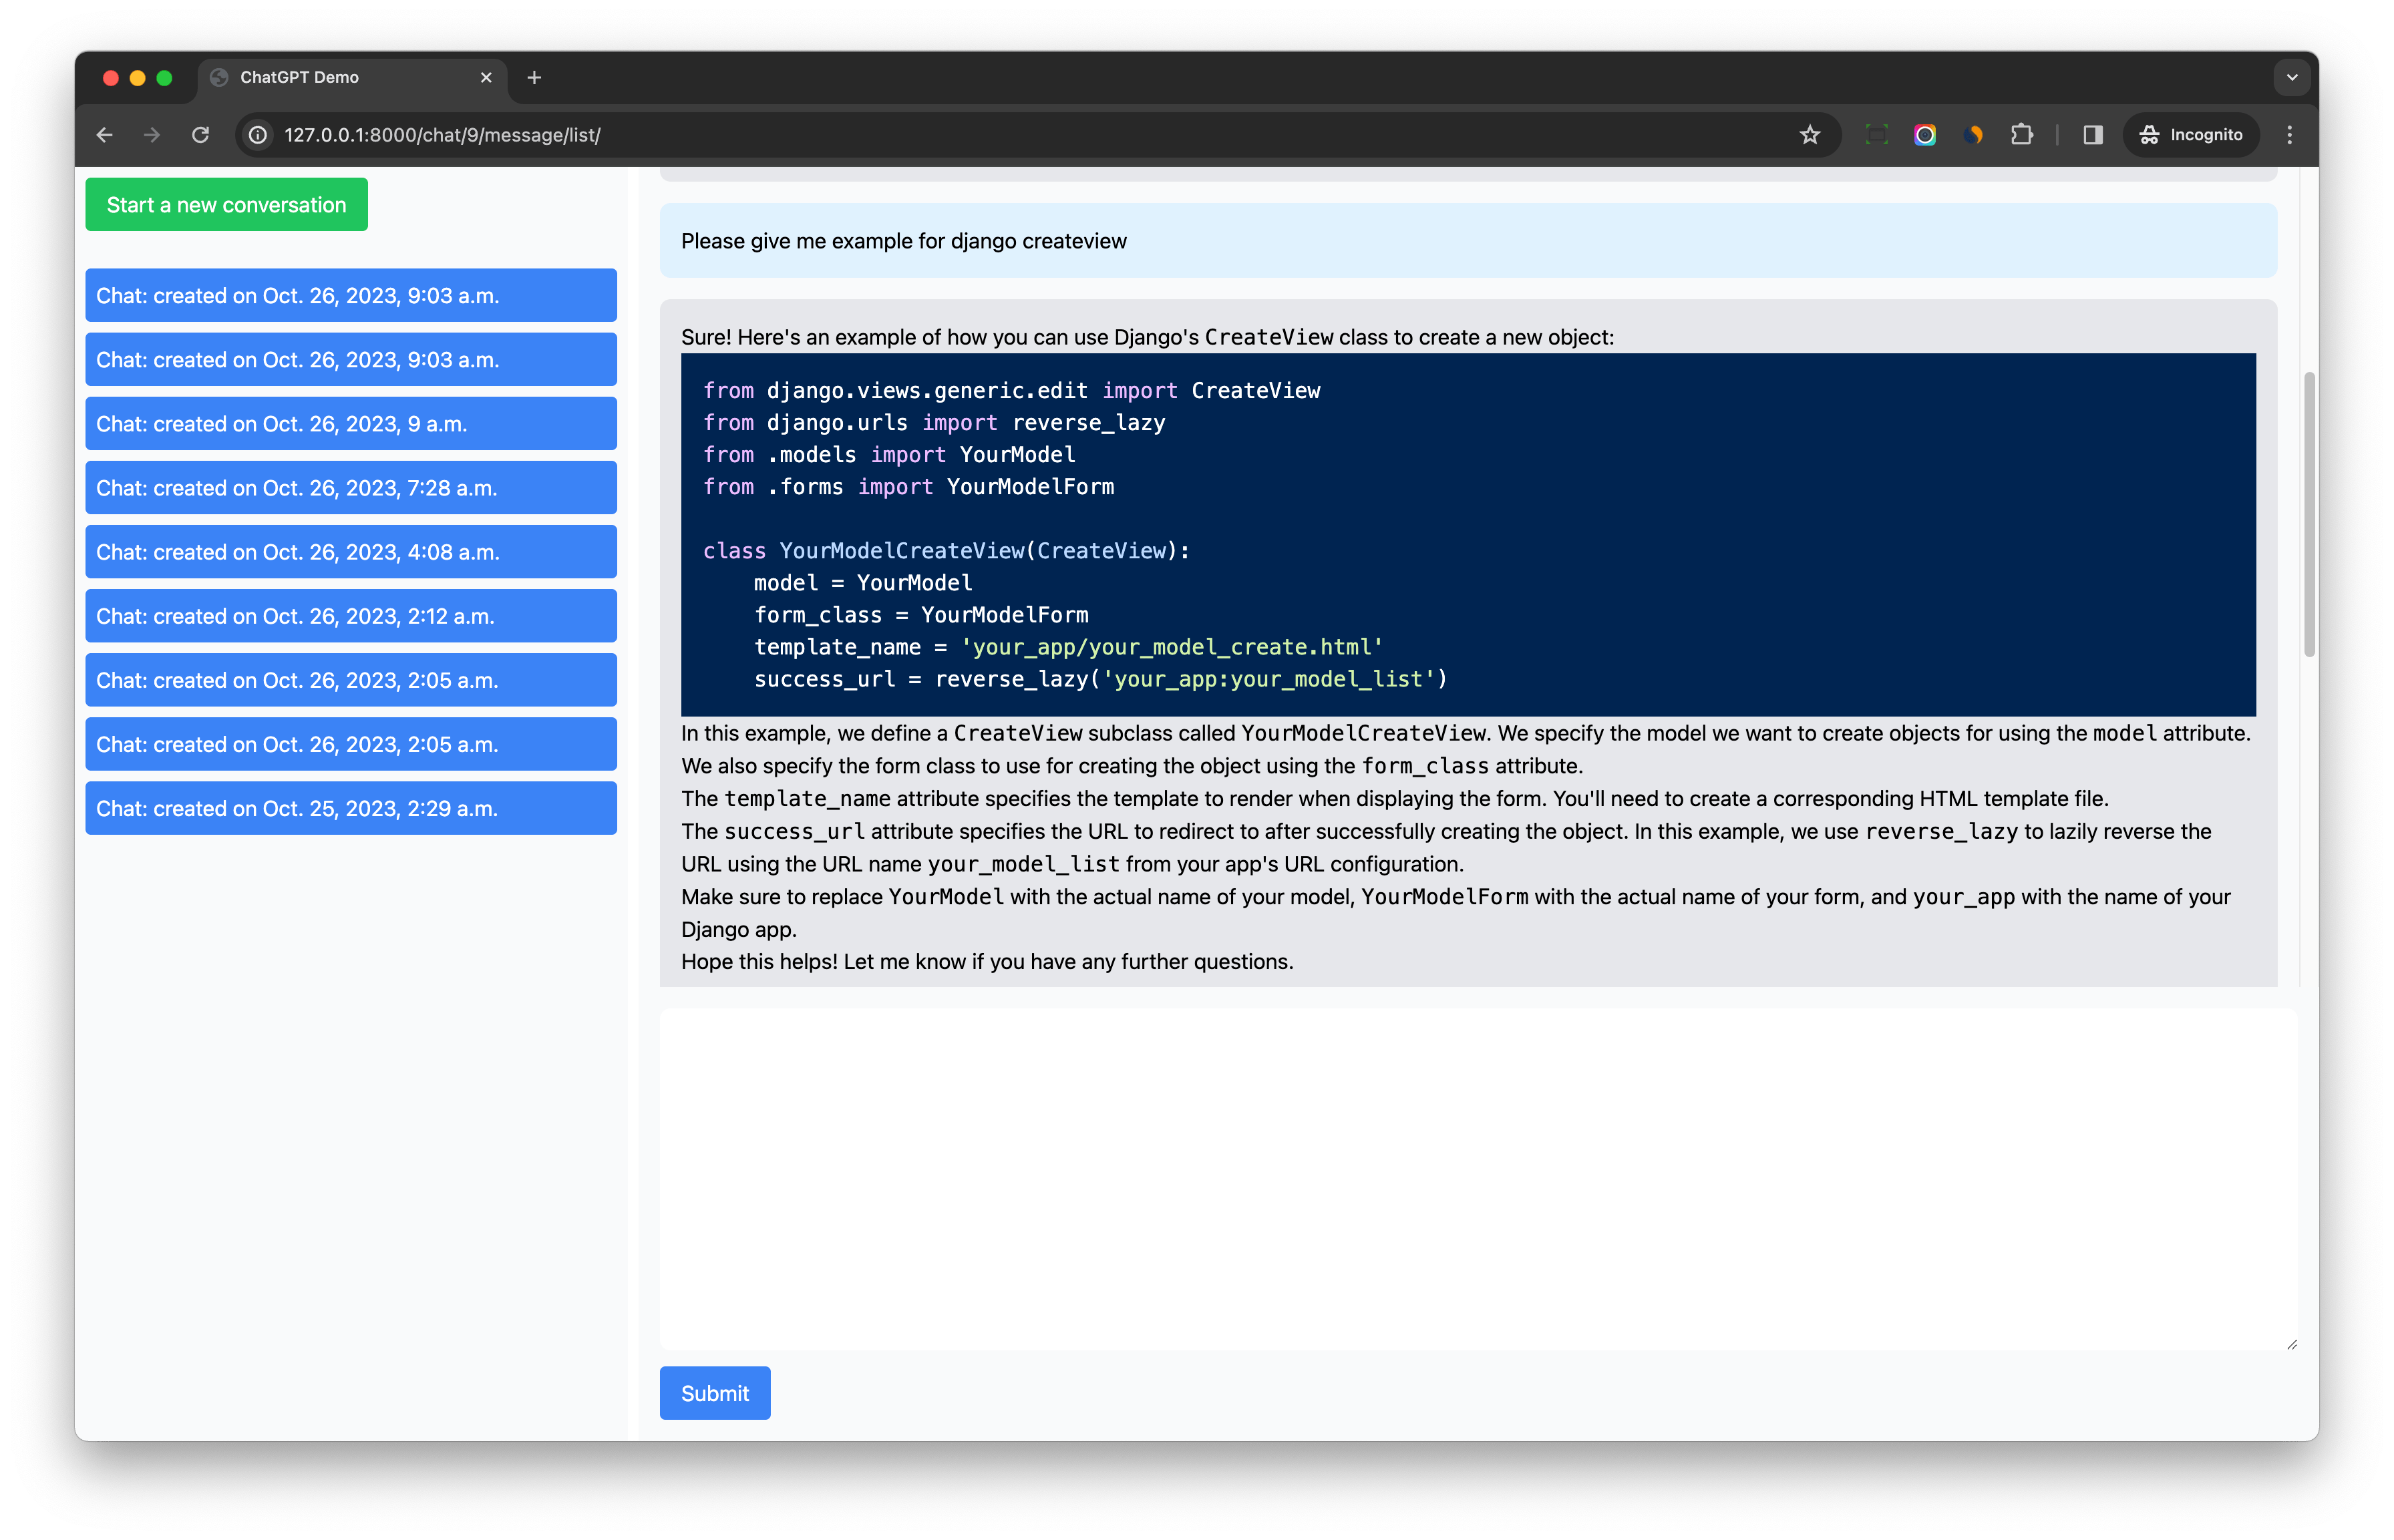
Notes:
- The code highlight is working.
- The markdown rendering is also working, but the typography style is not good, we will fix it in the next section.
tailwindcss/typography
The official Tailwind CSS Typography plugin provides a set of prose classes you can use to add beautiful typographic defaults to any vanilla HTML you don’t control, like HTML rendered from Markdown, or pulled from a CMS.
$ npm install @tailwindcss/typographyUpdate tailwind.config.js
const Path = require("path");
const pwd = process.env.PWD;

// We can add current project paths here
const projectPaths = [
  Path.join(pwd, "./chatgpt_django_app/templates/**/*.html"),
  // add js file paths if you need
];

const contentPaths = [...projectPaths];
console.log(`tailwindcss will scan ${contentPaths}`);

module.exports = {
  content: contentPaths,
  theme: {
    extend: {},
  },
  plugins: [
    require("@tailwindcss/typography"),             // new
  ],
}
Update chatgpt_django_app/templates/message_item.html
<div id="message_{{ instance.pk }}">
  {% if instance.role_label == 'User' %}
  <div class="p-4 m-4 max-w-full text-black rounded-lg bg-sky-100 prose" data-controller="markdown" data-content="{{ instance.content|escape }}"></div>
  {% else %}
  <div class="p-4 m-4 max-w-full bg-gray-200 rounded-lg prose" data-controller="markdown" data-content="{{ instance.content|escape }}"></div>
  {% endif %}
</div>
We add prose class to the div element, and Tailwind typography plugin will work on the elements.
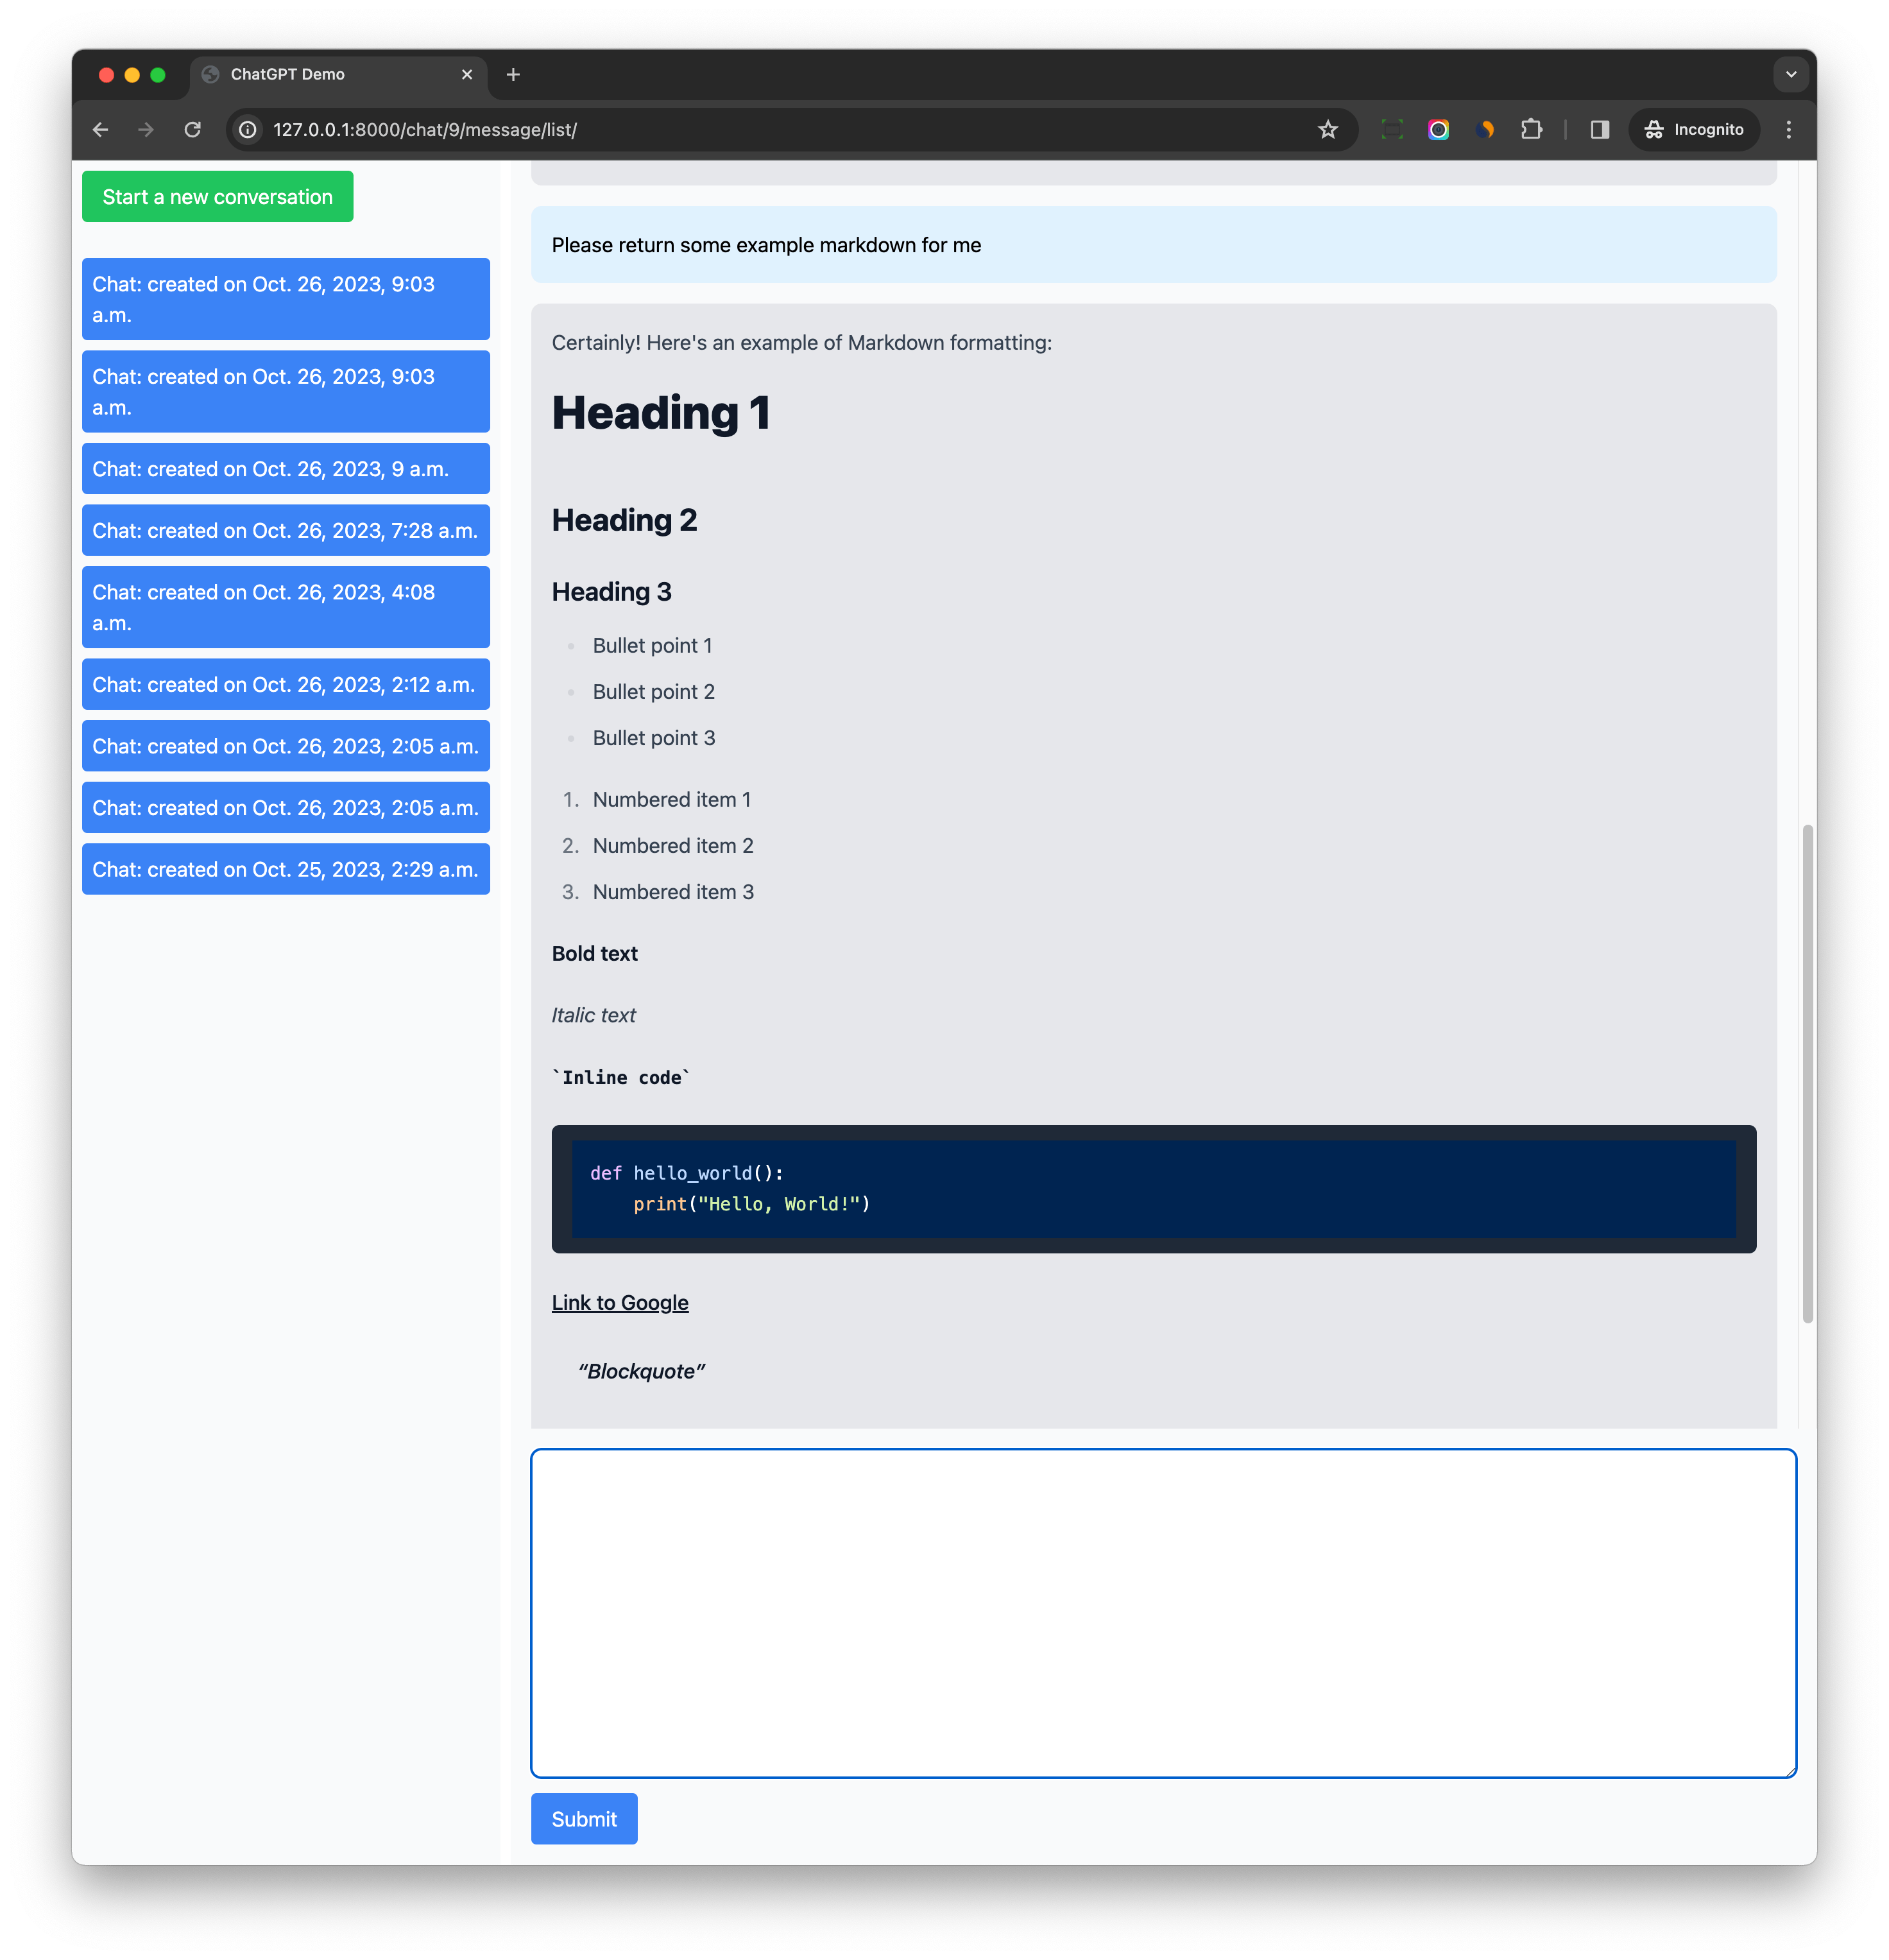
As you can see, the typography style is much better now.
Conclusion
markdown_controller.js is a reusable component in your project, and now you can even use it in other projects within seconds.
To know what dependency it has, you just need to check the import statements at the top of the file, and install them if you need, which is very clear and easy to understand.
I really recommend this way to organize your frontend code, and I hope you can enjoy it.
Django ChatGPT Tutorial Series:
- Introduction
- Create Django Project with Modern Frontend Tooling
- Create Chat App
- Partial Form Submission With Turbo Frame
- Use Turbo Stream To Manipulate DOM Elements
- Send Turbo Stream Over Websocket
- Using OpenAI Streaming API With Celery
- Use Stimulus to Better Organize Javascript Code in Django
- Use Stimulus to Render Markdown and Highlight Code Block
- Use Stimulus to Improve UX of Message Form
- Source Code chatgpt-django-project