Django ChatGPT Tutorial Series:
- Introduction
- Create Django Project with Modern Frontend Tooling
- Create Chat App
- Partial Form Submission With Turbo Frame
- Use Turbo Stream To Manipulate DOM Elements
- Send Turbo Stream Over Websocket
- Using OpenAI Streaming API With Celery
- Use Stimulus to Better Organize Javascript Code in Django
- Use Stimulus to Render Markdown and Highlight Code Block
- Use Stimulus to Improve UX of Message Form
- Source Code chatgpt-django-project
In this article, we will create a Django project and add modern frontend tooling and Tailwind CSS to it.
Objective
- Create a Django project
- Use
python-webpack-boilerplateto jump start frontend project bundled by Webpack. - Import Tailwind CSS as the styling solution.
- Setup Live Reload with
webpack-dev-server
Create Django Project
I recommend to use Python 3.10+
$ mkdir chatgpt_django_project && cd chatgpt_django_project
$ python3 -V
Python 3.11.6

# create virtualenv and activate it
$ python3 -m venv venv
$ source venv/bin/activate
You can also use other tools such as Poetry or Pipenv
Create requirements.txt
django==4.2.6
(venv)$ pip install -r requirements.txt
(venv)$ django-admin startproject chatgpt_django_app .
The last . in the command means creating the Django project in the current directory.
You will see structure like this
.
├── chatgpt_django_app
├── venv
├── manage.py
└── requirements.txt
Now, let's get the project running on local env.
# create db tables
(venv)$ python manage.py migrate
(venv)$ python manage.py runserver
Check on http://127.0.0.1:8000/, and you should be able to see the Django welcome page
If it is working, press Ctrl + C to terminate the server.
Install python-webpack-boilerplate
Next, we will add modern frontend tooling to the Django project, so we can use the latest frontend technologies in a bit.
python-webpack-boilerplate can help you jump start a frontend project that is bundled by Webpack
Add python-webpack-boilerplate to the requirements.txt
python-webpack-boilerplate==1.0.1 # new
And then install the package
(venv)$ pip install -r requirements.txtUpdate chatgpt_django_app/settings.py to add 'webpack_boilerplate' to INSTALLED_APPS
INSTALLED_APPS = [
    'django.contrib.admin',
    'django.contrib.auth',
    'django.contrib.contenttypes',
    'django.contrib.sessions',
    'django.contrib.messages',
    'django.contrib.staticfiles',

    'webpack_boilerplate',               # new
]
Let's run Django command to create frontend project from the python-webpack-boilerplate
$ python manage.py webpack_init

project_slug [frontend]:
run_npm_command_at_root [n]: y
[SUCCESS]: Frontend app 'frontend' has been created.
Here we set run_npm_command_at_root to y so we can run npm command directly at the root of the Django project
If we check the project structure, we will see something like this
.
├── db.sqlite3
├── frontend
├── chatgpt_django_app
├── manage.py
├── package-lock.json
├── package.json
├── postcss.config.js
├── requirements.txt
└── venv
Notes:
- A new
frontenddirectory is created which contains predefined files for our frontend project. package.jsonand some other config files are placed at the root directory.
Run Frontend Project
If you have no nodejs installed, please install it first by using below links
- On nodejs homepage
- Using nvm or fnm I recommend this way.
$ node -v
v18.18.2
$ npm -v
9.8.1
# install frontend dependency packages
$ npm install
# launch webpack dev server
$ npm run startIf the command run without error, that means the setup works, let's terminate the npm run start by pressing Ctrl + C
Install Tailwind
By default Python Webpack Boilerplate does not contain Tailwind CSS (it is just a boilerplate), let's add it.
# install packages
$ npm install -D tailwindcss@latest postcss-import
You should see something like this in the package.json
"postcss-import": "^15.1.0",
"tailwindcss": "^3.3.3",
Next, let's edit postcss.config.js
// https://tailwindcss.com/docs/using-with-preprocessors

module.exports = {
  plugins: {
    'postcss-import': {},
    'tailwindcss/nesting': 'postcss-nesting',
    tailwindcss: {},
    'postcss-preset-env': {
      features: { 'nesting-rules': false },
    },
  }
}
Next, generate a config file for your frontend project using the Tailwind CLI utility included when you install the tailwindcss npm package
$ npx tailwindcss initNow tailwind.config.js is generated beside postcss.config.js, and it should look like this.
module.exports = {
    content: [],
    theme: {
        extend: {},
    },
    plugins: [],
}
We can update this file to customize Tailwind CSS.
For now, let's leave it as it is.
Write Tailwind CSS
Update src/application/app.js
// This is the scss entry file
import "../styles/index.scss";

window.document.addEventListener("DOMContentLoaded", function () {
  window.console.log("dom ready");
});
Update src/styles/index.scss
@import "tailwindcss/base";
@import "tailwindcss/components";
@import "tailwindcss/utilities";

.jumbotron {
  // should be relative path of the entry scss file
  background-image: url("../../vendors/images/sample.jpg");
  background-size: cover;
}

.btn-blue {
  @apply inline-flex items-center;
  @apply px-4 py-2;
  @apply font-semibold rounded-lg shadow-md;
  @apply text-white bg-blue-500;
  @apply hover:bg-blue-700 focus:outline-none focus:ring-2 focus:ring-blue-400 focus:ring-opacity-75;
}
Notes:
- We use
@importto import Tailwind CSS at the top - We use classic CSS syntax to write style for
jumbotronclass - We use
@applyto apply Tailwind CSS utility classes to thebtn-blueclass
Let's test again.
$ npm run start

# webpack 5.70.0 compiled successfully
Now the tailwindcss can be compiled successfully, let's test in the Django template.
Test in Django Template
Add code below to chatgpt_django_app/settings.py
STATICFILES_DIRS = [
    str(BASE_DIR / "frontend/build"),
]

WEBPACK_LOADER = {
    'MANIFEST_FILE': str(BASE_DIR / "frontend/build/manifest.json"),
}- We add the above
frontend/buildtoSTATICFILES_DIRSso Django can find the static assets built by our Webpack (img, font and others) - We add
MANIFEST_FILElocation to theWEBPACK_LOADERso our custom loader can help us load the JS and CSS.
Update chatgpt_django_app/urls.py
from django.contrib import admin
from django.urls import path
from django.views.generic import TemplateView             # new

urlpatterns = [
    path('', TemplateView.as_view(template_name="index.html")),     # new
    path('admin/', admin.site.urls),
]
Create a folder for templates
$ mkdir chatgpt_django_app/templates

├── chatgpt_django_app
│   ├── __init__.py
│   ├── asgi.py
│   ├── settings.py
│   ├── templates               # new
│   ├── urls.py
│   └── wsgi.py
Update TEMPLATES in chatgpt_django_app/settings.py, so Django can know where to find the templates
TEMPLATES = [
    {
        'BACKEND': 'django.template.backends.django.DjangoTemplates',
        'DIRS': ['chatgpt_django_app/templates'],                             # new
        'APP_DIRS': True,
        'OPTIONS': {
            'context_processors': [
                'django.template.context_processors.debug',
                'django.template.context_processors.request',
                'django.contrib.auth.context_processors.auth',
                'django.contrib.messages.context_processors.messages',
            ],
        },
    },
]
Add index.html to the above chatgpt_django_app/templates
{% load webpack_loader static %}
<!DOCTYPE html>
<html>
<head>
<title>Index</title>
<meta charset="utf-8" />
<meta name="viewport" content="width=device-width, initial-scale=1.0">
{% stylesheet_pack 'app' %}
</head>
<body>
<div class="jumbotron py-5">
<div class="w-full max-w-7xl mx-auto px-4">
<h1 class="text-4xl mb-4">Hello, world!</h1>
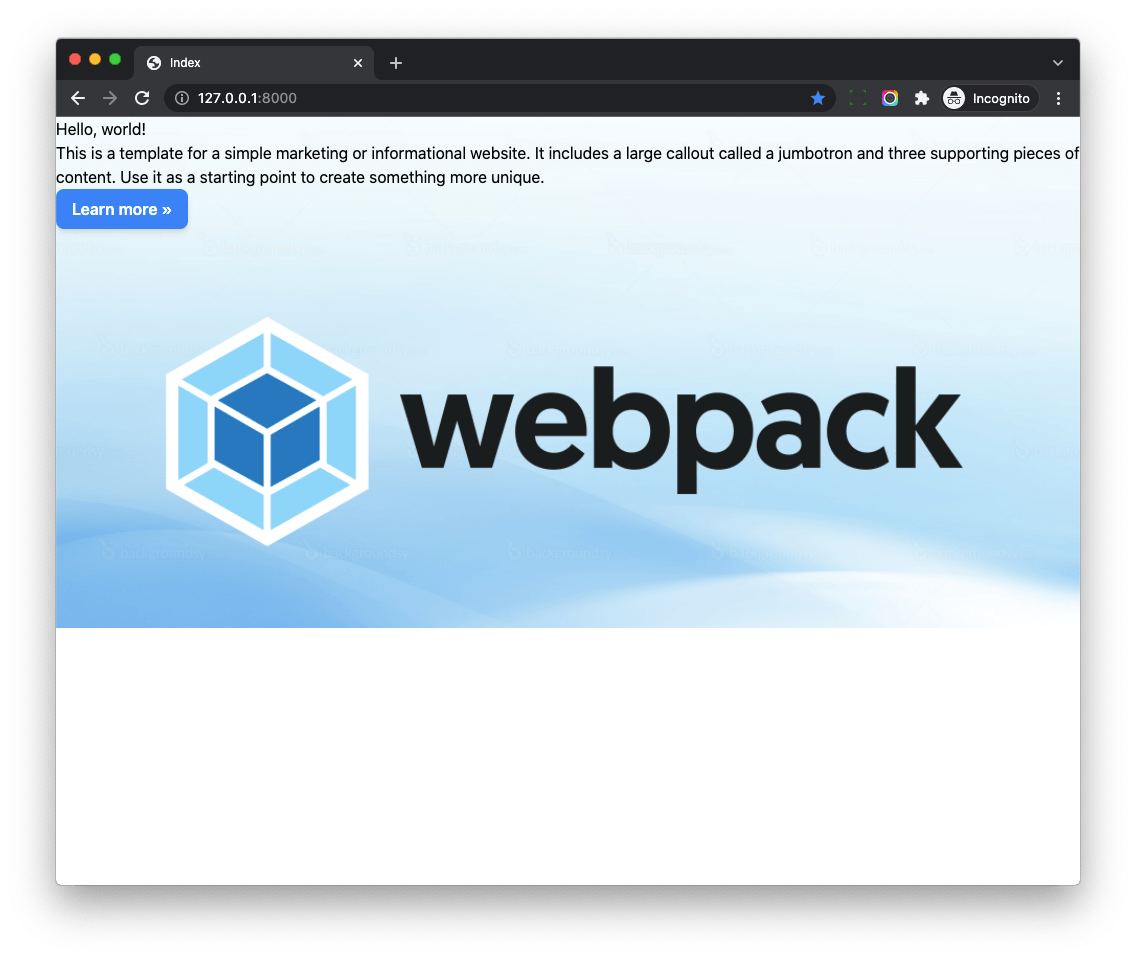
<p class="mb-4">This is a template for a simple marketing or informational website. It includes a large callout called a
jumbotron and three supporting pieces of content. Use it as a starting point to create something more unique.</p>
<p><a class="btn-blue mb-4" href="#" role="button">Learn more »</a></p>
<div class="flex justify-center">
<img src="{% static 'vendors/images/webpack.png' %}"/>
</div>
</div>
</div>
{% javascript_pack 'app' %}
</body>
</html>- We
load webpack_loaderat the top of the template, which comes from thepython-webpack-boilerplate - We can still use Django
statictemplate tag to import images from the frontend project. - We use
stylesheet_packandjavascript_packto load CSS and JS bundle files to Django
# please make sure 'npm run start' is still running
(venv)$ python manage.py migrate
(venv)$ python manage.py runserver
Now check on http://127.0.0.1:8000/ and you should be able to see a welcome page.
Here we can notice:
- The button css
btn-blueis working. - Some styles in the Django templates such as
w-full max-w-7xl mx-auto px-4is not working.
JIT
From Tailwind V3, it enabled JIT (Just-in-Time) all the time.
Tailwind CSS works by scanning all of your HTML, JavaScript components, and any other template files for class names, then generating all of the corresponding CSS for those styles.
In order for Tailwind to generate all of the CSS you need, it needs to know about every single file in your project that contains any Tailwind class names.
So we should config the content section of the tailwind.config.js, then Tailwind will know which css classes are used.
Let's update tailwind.config.js
const Path = require("path");
const pwd = process.env.PWD;

// We can add current project paths here
const projectPaths = [
    Path.join(pwd, "./chatgpt_django_app/templates/**/*.html"),
    // add js file paths if you need
];

const contentPaths = [...projectPaths];
console.log(`tailwindcss will scan ${contentPaths}`);

module.exports = {
    content: contentPaths,
    theme: {
        extend: {},
    },
    plugins: [],
}
Notes:
- Here we add Django templates path to the
projectPaths - And then we pass the
contentPathsto thecontent - The final built css file will contain css classes used in the Django templates
Let's restart webpack dev server.
$ npm run start

tailwindcss will scan chatgpt_django_project/chatgpt_django_app/templates/**/*.html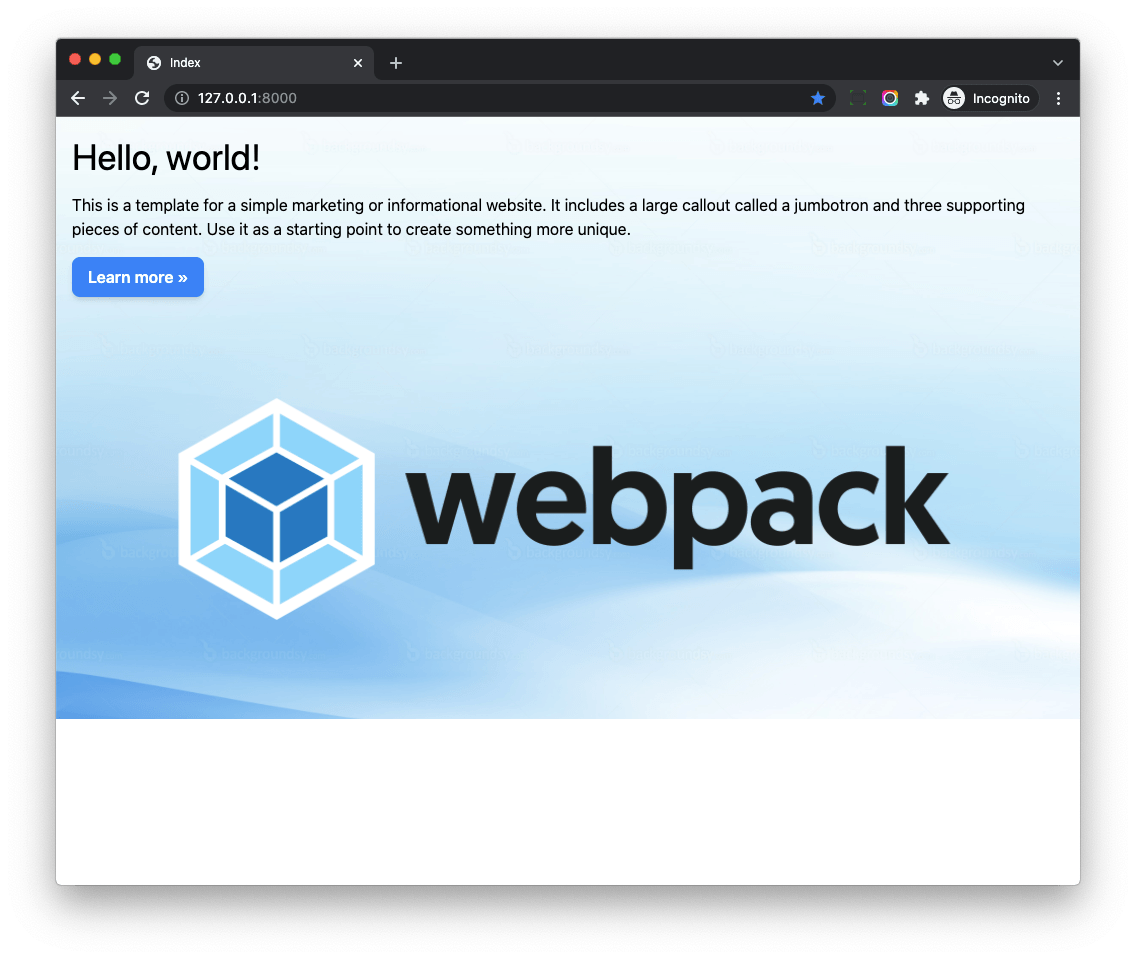
Setup Live Reload
With webpack-dev-server, we can use it to auto reload the web page when the code of the project changes.
Update frontend/webpack/webpack.config.dev.js
devServer: {
  // add this
  watchFiles: [
    Path.join(__dirname, '../../chatgpt_django_app/**/*.py'),
    Path.join(__dirname, '../../chatgpt_django_app/**/*.html'),
  ],
},
Let's restart webpack dev server.
$ npm run start- Here we tell webpack-dev-server to watch all
.pyand.htmlfiles under thechatgpt_django_appdirectory. - Now if we change code in the editor, the web page will auto reload automatically, which is awesome!
More details can be found on Python Webpack Boilerplate Doc
Cleanup
Let's remove some useless files since we are not using them in later chapters.
# those files are created by python-webpack-boilerplate
$ rm -rf frontend/src/components
$ rm -f frontend/src/application/app2.js
Django ChatGPT Tutorial Series:
- Introduction
- Create Django Project with Modern Frontend Tooling
- Create Chat App
- Partial Form Submission With Turbo Frame
- Use Turbo Stream To Manipulate DOM Elements
- Send Turbo Stream Over Websocket
- Using OpenAI Streaming API With Celery
- Use Stimulus to Better Organize Javascript Code in Django
- Use Stimulus to Render Markdown and Highlight Code Block
- Use Stimulus to Improve UX of Message Form
- Source Code chatgpt-django-project