Django ChatGPT Tutorial Series:
- Introduction
- Create Django Project with Modern Frontend Tooling
- Create Chat App
- Partial Form Submission With Turbo Frame
- Use Turbo Stream To Manipulate DOM Elements
- Send Turbo Stream Over Websocket
- Using OpenAI Streaming API With Celery
- Use Stimulus to Better Organize Javascript Code in Django
- Use Stimulus to Render Markdown and Highlight Code Block
- Use Stimulus to Improve UX of Message Form
- Source Code chatgpt-django-project
In this article, we will learn how to use Turbo Frame to do partial form submission without writing Javascript.
Objective
- Learn what is Turbo Frame
- Understand how Turbo Frame works
Turbo
Turbo is a package of the Hotwire project. It is a set of complementary techniques for speeding up page changes and form submissions in web applications.
Turbo Drive: accelerates links and form submissionsTurbo Frames: decompose pages into independent contexts like HTMLiframe
In this project, we will use Turbo Frame to help us submit form without page reload.
Form
Update chatgpt_django_app/chat/forms.py
from django import forms
from django.core.validators import MinLengthValidator

from .models import Chat, Message


class MessageForm(forms.ModelForm):
    content = forms.CharField(
        label='Content',
        widget=forms.Textarea(
            attrs={
                'class': "rounded-lg border-gray-300 block leading-normal border px-4 text-gray-700 bg-white "
                         "focus:outline-none py-2 appearance-none w-full",
            },
        ),
        validators=[MinLengthValidator(2)]
    )

    class Meta:
        model = Message
        fields = ("content",)

    def __init__(self, *args, **kwargs):
        self.role = kwargs.pop("role")
        self.chat_pk = kwargs.pop("chat_pk")

        super().__init__(*args, **kwargs)

    def save(self, commit=True):
        instance = super().save(commit=False)
        instance.chat_id = self.chat_pk
        instance.role = self.role
        if commit:
            instance.save()
        return instance
Notes:
- We add
content = forms.CharFieldto the form and add some css classes to theattrsto make it look nicer with Tailwind CSS. - If you want to know more about form rendering with Tailwind CSS, please check Render Django Form with Tailwind CSS Style
- The
validators=[MinLengthValidator(2)]is to help us better check failed form validation in a bit.
View
Update chatgpt_django_app/chat/views.py
from django.urls import reverse
from django.views import View
from django.views.generic.edit import CreateView
from django.views.generic.list import ListView
from django.http import HttpResponseRedirect, HttpResponse

from .models import Chat, Message
from .forms import MessageForm


class MessageCreateView(CreateView):
    model = Message
    template_name = "message_create.html"
    form_class = MessageForm

    def get_success_url(self):
        return None

    def get_form_kwargs(self):
        kwargs = super().get_form_kwargs()
        kwargs["chat_pk"] = self.kwargs.get("chat_pk")
        kwargs["role"] = Message.USER
        return kwargs

    def get_empty_form(self):
        """
        Return empty form so we can reset the form
        """
        form_class = self.get_form_class()
        kwargs = self.get_form_kwargs()
        kwargs.pop("data")
        kwargs.pop("files")
        kwargs.pop("instance")
        return form_class(**kwargs)

    def form_valid(self, form):
        super().form_valid(form)

        # reset the form
        new_form = self.get_empty_form()
        return self.render_to_response(self.get_context_data(form=new_form))


message_create_view = MessageCreateView.as_view()
Notes:
- We added
MessageCreateViewto create a new message. - In the
get_form_kwargs, we passchat_pkandroleto the form, which are required to create the message instance. - We will return HTML in this view, so we return None in get_success_url method.
URL
Update chatgpt_django_app/chat/urls.py
from django.urls import path

from .views import (
    index_view,
    message_list_view,
    message_create_view,                        # new
)

app_name = "chat"

urlpatterns = [
    path("chat/", index_view, name="index"),
    path("chat/<int:chat_pk>/message/list/", message_list_view, name="message-list"),
    path("chat/<int:chat_pk>/message/create/", message_create_view, name="message-create"),        # new
]
Template
Now we come to the most important part in this chapter
Import Turbo
Update chatgpt_django_app/templates/base.html
{% load webpack_loader static %}

<!DOCTYPE html>
<html>
<head>
  <title>ChatGPT Demo</title>
  <meta charset="utf-8"/>
  <meta name="viewport" content="width=device-width, initial-scale=1.0">

  {% stylesheet_pack 'app' %}
  {% javascript_pack 'app' attrs='defer' %}
  <script src="https://cdn.jsdelivr.net/npm/@hotwired/[email protected]/dist/turbo.es2017-umd.js"></script>
</head>

<body data-turbo="false">

{% block content %}
{% endblock %}

</body>
</html>
Notes:
- We import Turbo by adding
https://cdn.jsdelivr.net/npm/@hotwired/[email protected]/dist/turbo.es2017-umd.jsscript to the head. - We add
data-turbo="false"to the body tag, so that we can disable Turbo for all pages by default. And we only enable this feature on specific elements in a bit. Since many people do not understand how Turbo Drive work and we I do not plan to talk about it here. - If you want to know more about Turbo Drive, please check The Definitive Guide to Hotwire and Django (2.0.0)
List Page
Update chatgpt_django_app/templates/message_list_page.html
{% extends "base.html" %}

{% block content %}

  <main class="w-full">
    <div class="grid grid-cols-12 gap-2">
      <div class="col-span-12 bg-gray-50 sm:col-span-3">
        <div class="flex flex-col space-y-1 sm:h-screen">

          <form method="post" action="{% url 'chat:index' %}">
            {% csrf_token %}
            <button type="submit" class="bg-green-500 text-white py-2 px-4 rounded m-2">Start a new conversation
            </button>
          </form>

          <ul class="flex flex-col py-4 space-y-2">
            {% for chat in chats %}
              <a class="text-white py-2 px-2 rounded mx-2 bg-blue-500"
                 href="{% url 'chat:message-list' chat.pk %}">Chat: created on <time>{{ chat.created_at }}</time></a>
            {% endfor %}
          </ul>

        </div>
      </div>
      <div class="col-span-12 bg-gray-50 sm:col-span-9">
        <div class="bg-gray-50 sm:h-screen">

          <div class="flex flex-col h-full">

            <!-- Message List -->
            <div class="overflow-y-auto flex-1">
              {% for instance in object_list %}
                <div id="message_{{ instance.pk }}">
                  {% if instance.role_label == 'User' %}
                    <div class="p-4 m-4 max-w-full text-black rounded-lg bg-sky-100 prose" >{{ instance.content }}</div>
                  {% else %}
                    <div class="p-4 m-4 max-w-full bg-gray-200 rounded-lg prose">{{ instance.content }}</div>
                  {% endif %}
                </div>
              {% endfor %}
            </div>

            <!-- Message Form -->
            <div>
              <turbo-frame
                  id="message-create-frame"
                  src="{% url 'chat:message-create' view.kwargs.chat_pk %}"
                  data-turbo="true"
              >
                Loading...
              </turbo-frame>
            </div>
          </div>

        </div>
      </div>
    </div>
  </main>

{% endblock %}
Notes:
- As for the
Message Form, we add aturbo-frameelement. - The
id=message-create-frameis the unique id of the turbo frame element. data-turbo="true"means Turbo will work on this element and children elements.src="{% url 'chat:message-create' view.kwargs.chat_pk %}"means Turbo will send request to this URL to load the content of this frame.
Let's create chatgpt_django_app/templates/message_create.html
<turbo-frame id="message-create-frame" data-turbo="true">
  <form
      method="post"
      action="{% url 'chat:message-create' view.kwargs.chat_pk %}"
      class="p-2 m-2"
  >
    {% csrf_token %}

    <div class="mb-3">
      {{ form.content }}

      <div class="text-xs italic text-red-500">
        {{ form.content.errors }}
      </div>
    </div>

    <button type="submit"
            class="transition-all bg-blue-500 hover:bg-blue-600 text-white py-2 px-4 rounded"
    >
      Submit
    </button>

  </form>
</turbo-frame>
Notes:
- We use
turbo-frameto wrap the form, and it also has the same id as theid="message-create-frame" - After Turbo get the server response, it will find the matched element according to the id of the
turbo-frame, and update the content of the turbo frame element with the server-side response.
Test 1
Let's run the app
$ npm run startAnd then run Django server
(venv)$ python manage.py runserverOpen http://localhost:8000/chat/ in your browser, we should see the message create form is loaded successfully.
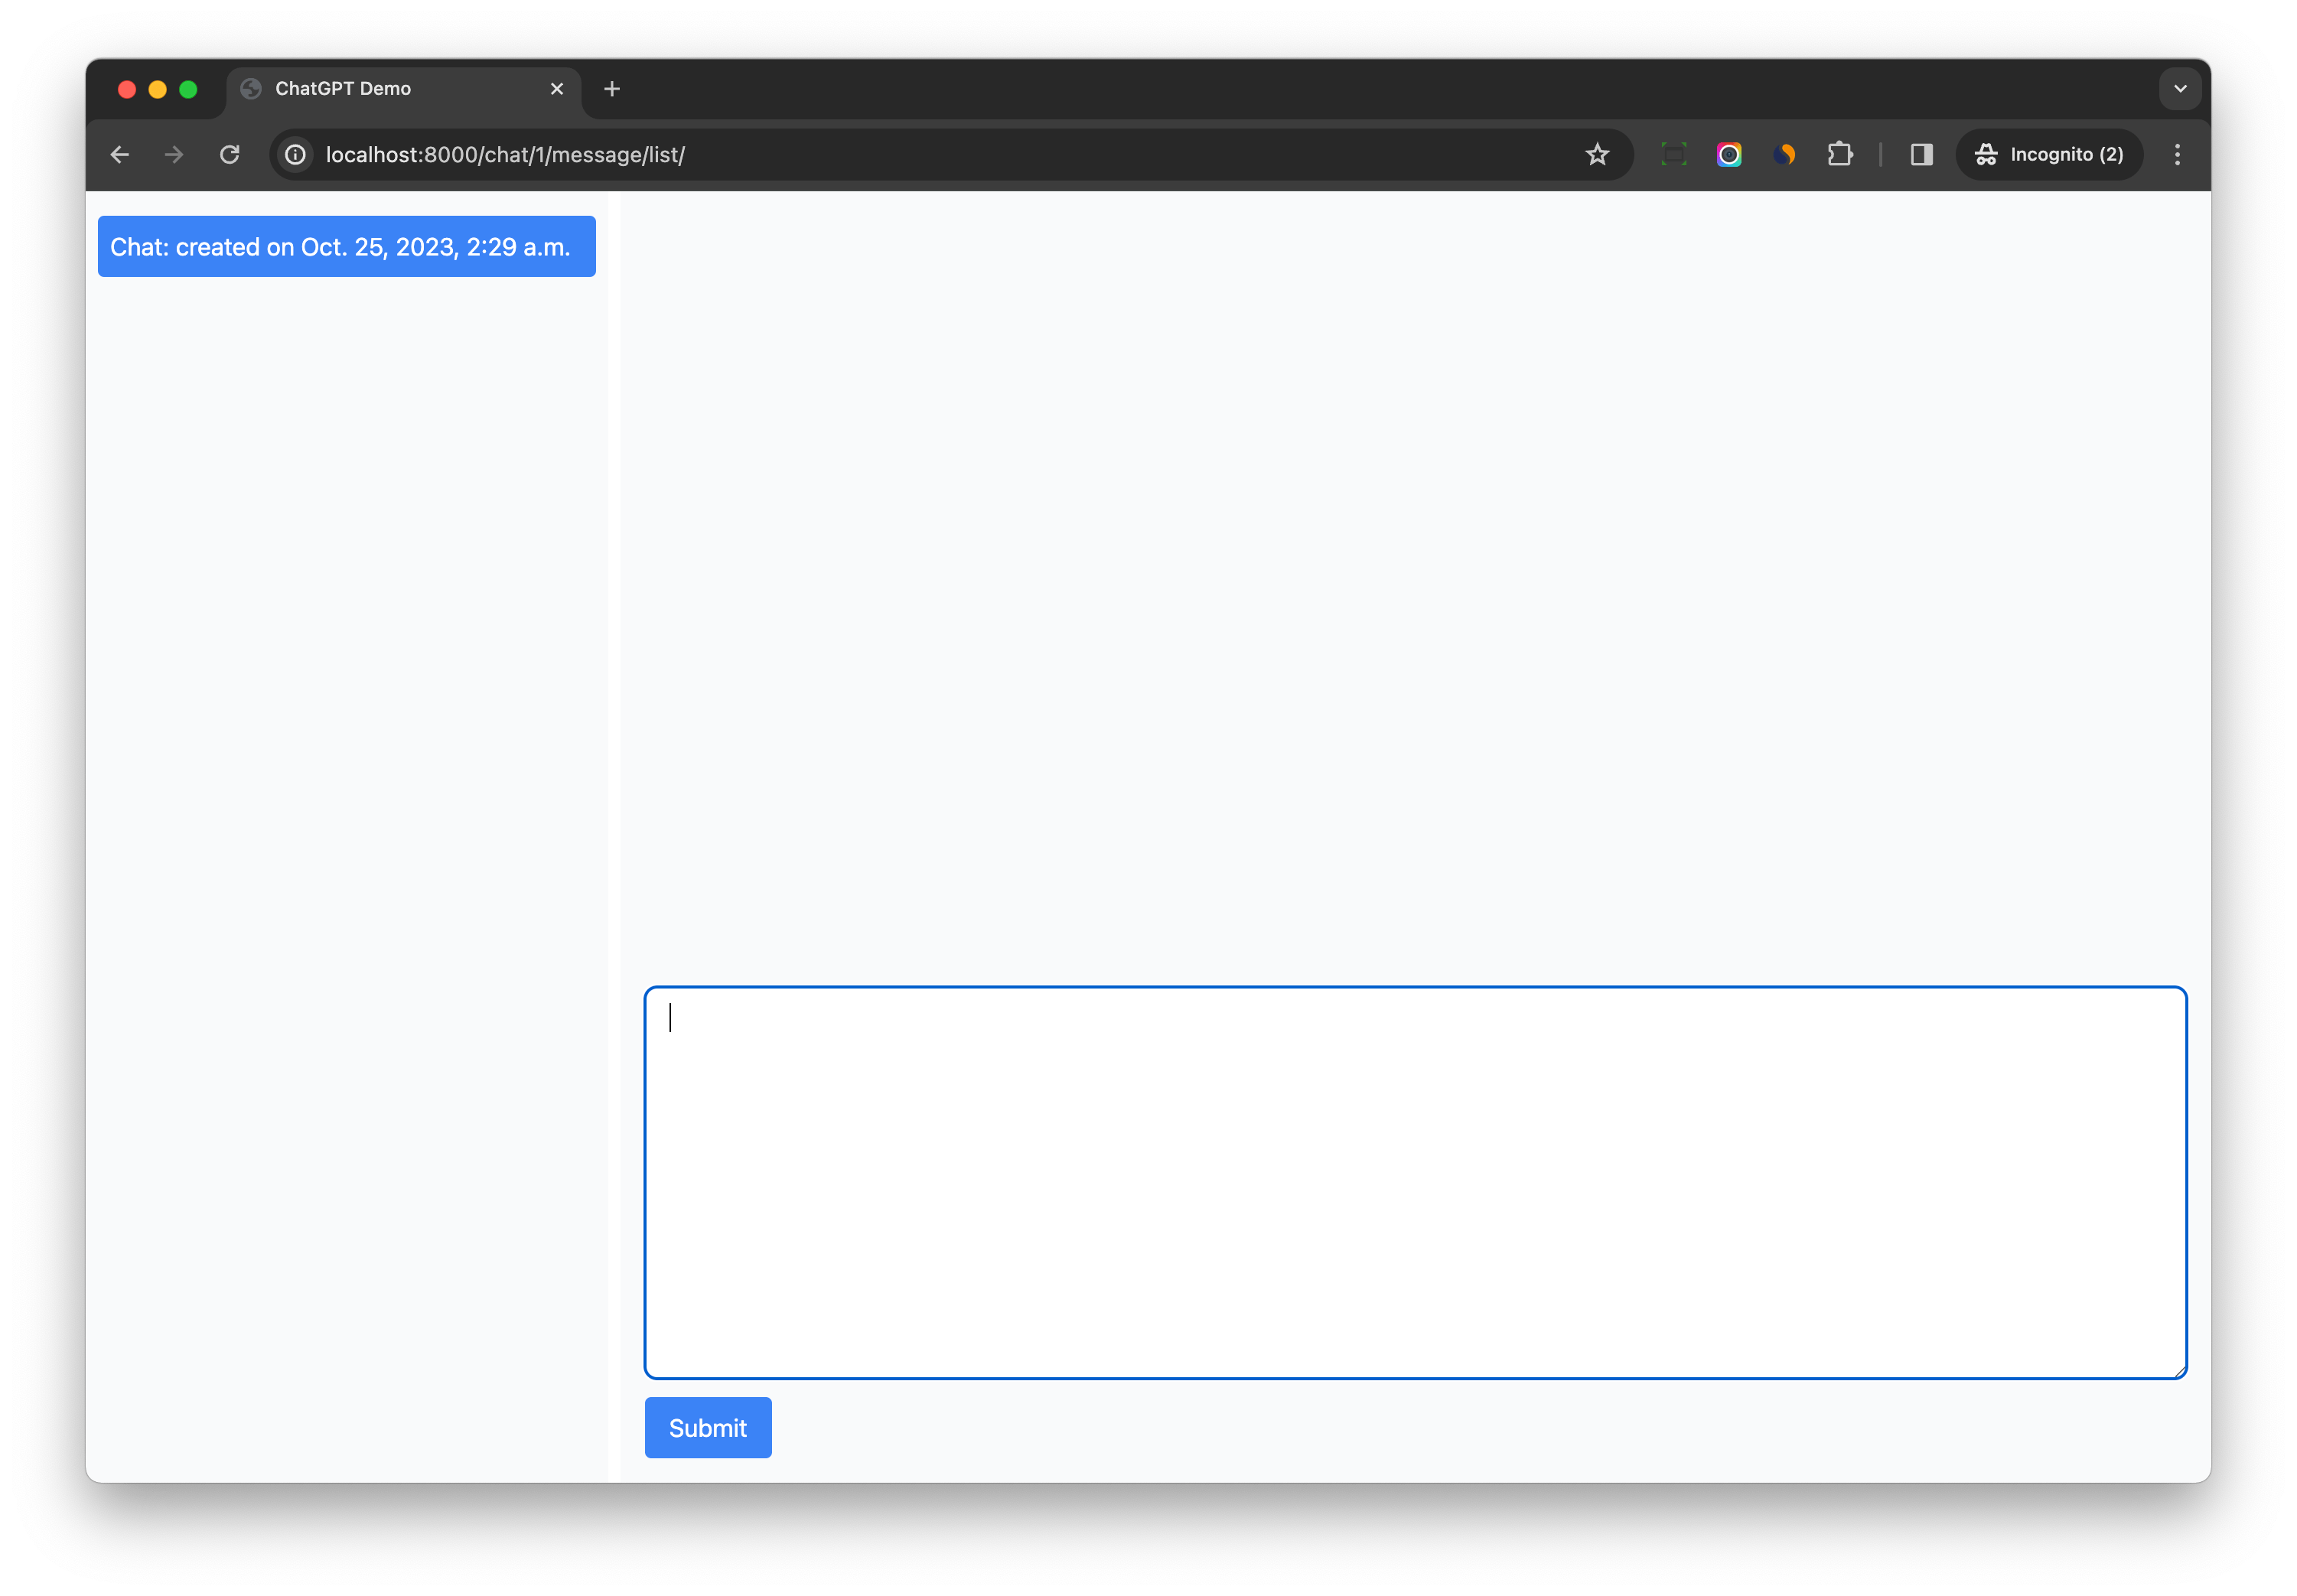
If you check in devtool, you will see another request is sent to http://localhost:8000/chat/1/message/create/ to load the content of the turbo frame.
<turbo-frame id="message-create-frame">
  <form
    method="post"
    action="/chat/1/message/create/"
    class="p-2 m-2"
  >
    <input type="hidden" name="csrfmiddlewaretoken" value="mfIm4RDhjERAfnjRzG56PleGJo5h8AYFmAW2cCekDntJ0pFAtLPoHReNDWxwPu0p">

    <div class="mb-3">
      <textarea name="content" cols="40" rows="10" class="rounded-lg border-gray-300 block leading-normal border px-4 text-gray-700 bg-white focus:outline-none py-2 appearance-none w-full" required id="id_content">
</textarea>

      <div class="text-xs italic text-red-500">

      </div>
    </div>

    <button type="submit"
            class="transition-all bg-blue-500 hover:bg-blue-600 text-white py-2 px-4 rounded"
    >
      Submit
    </button>

  </form>
</turbo-frame>
Test 2
Input one character in the form, and submit to trigger the form validation failure.
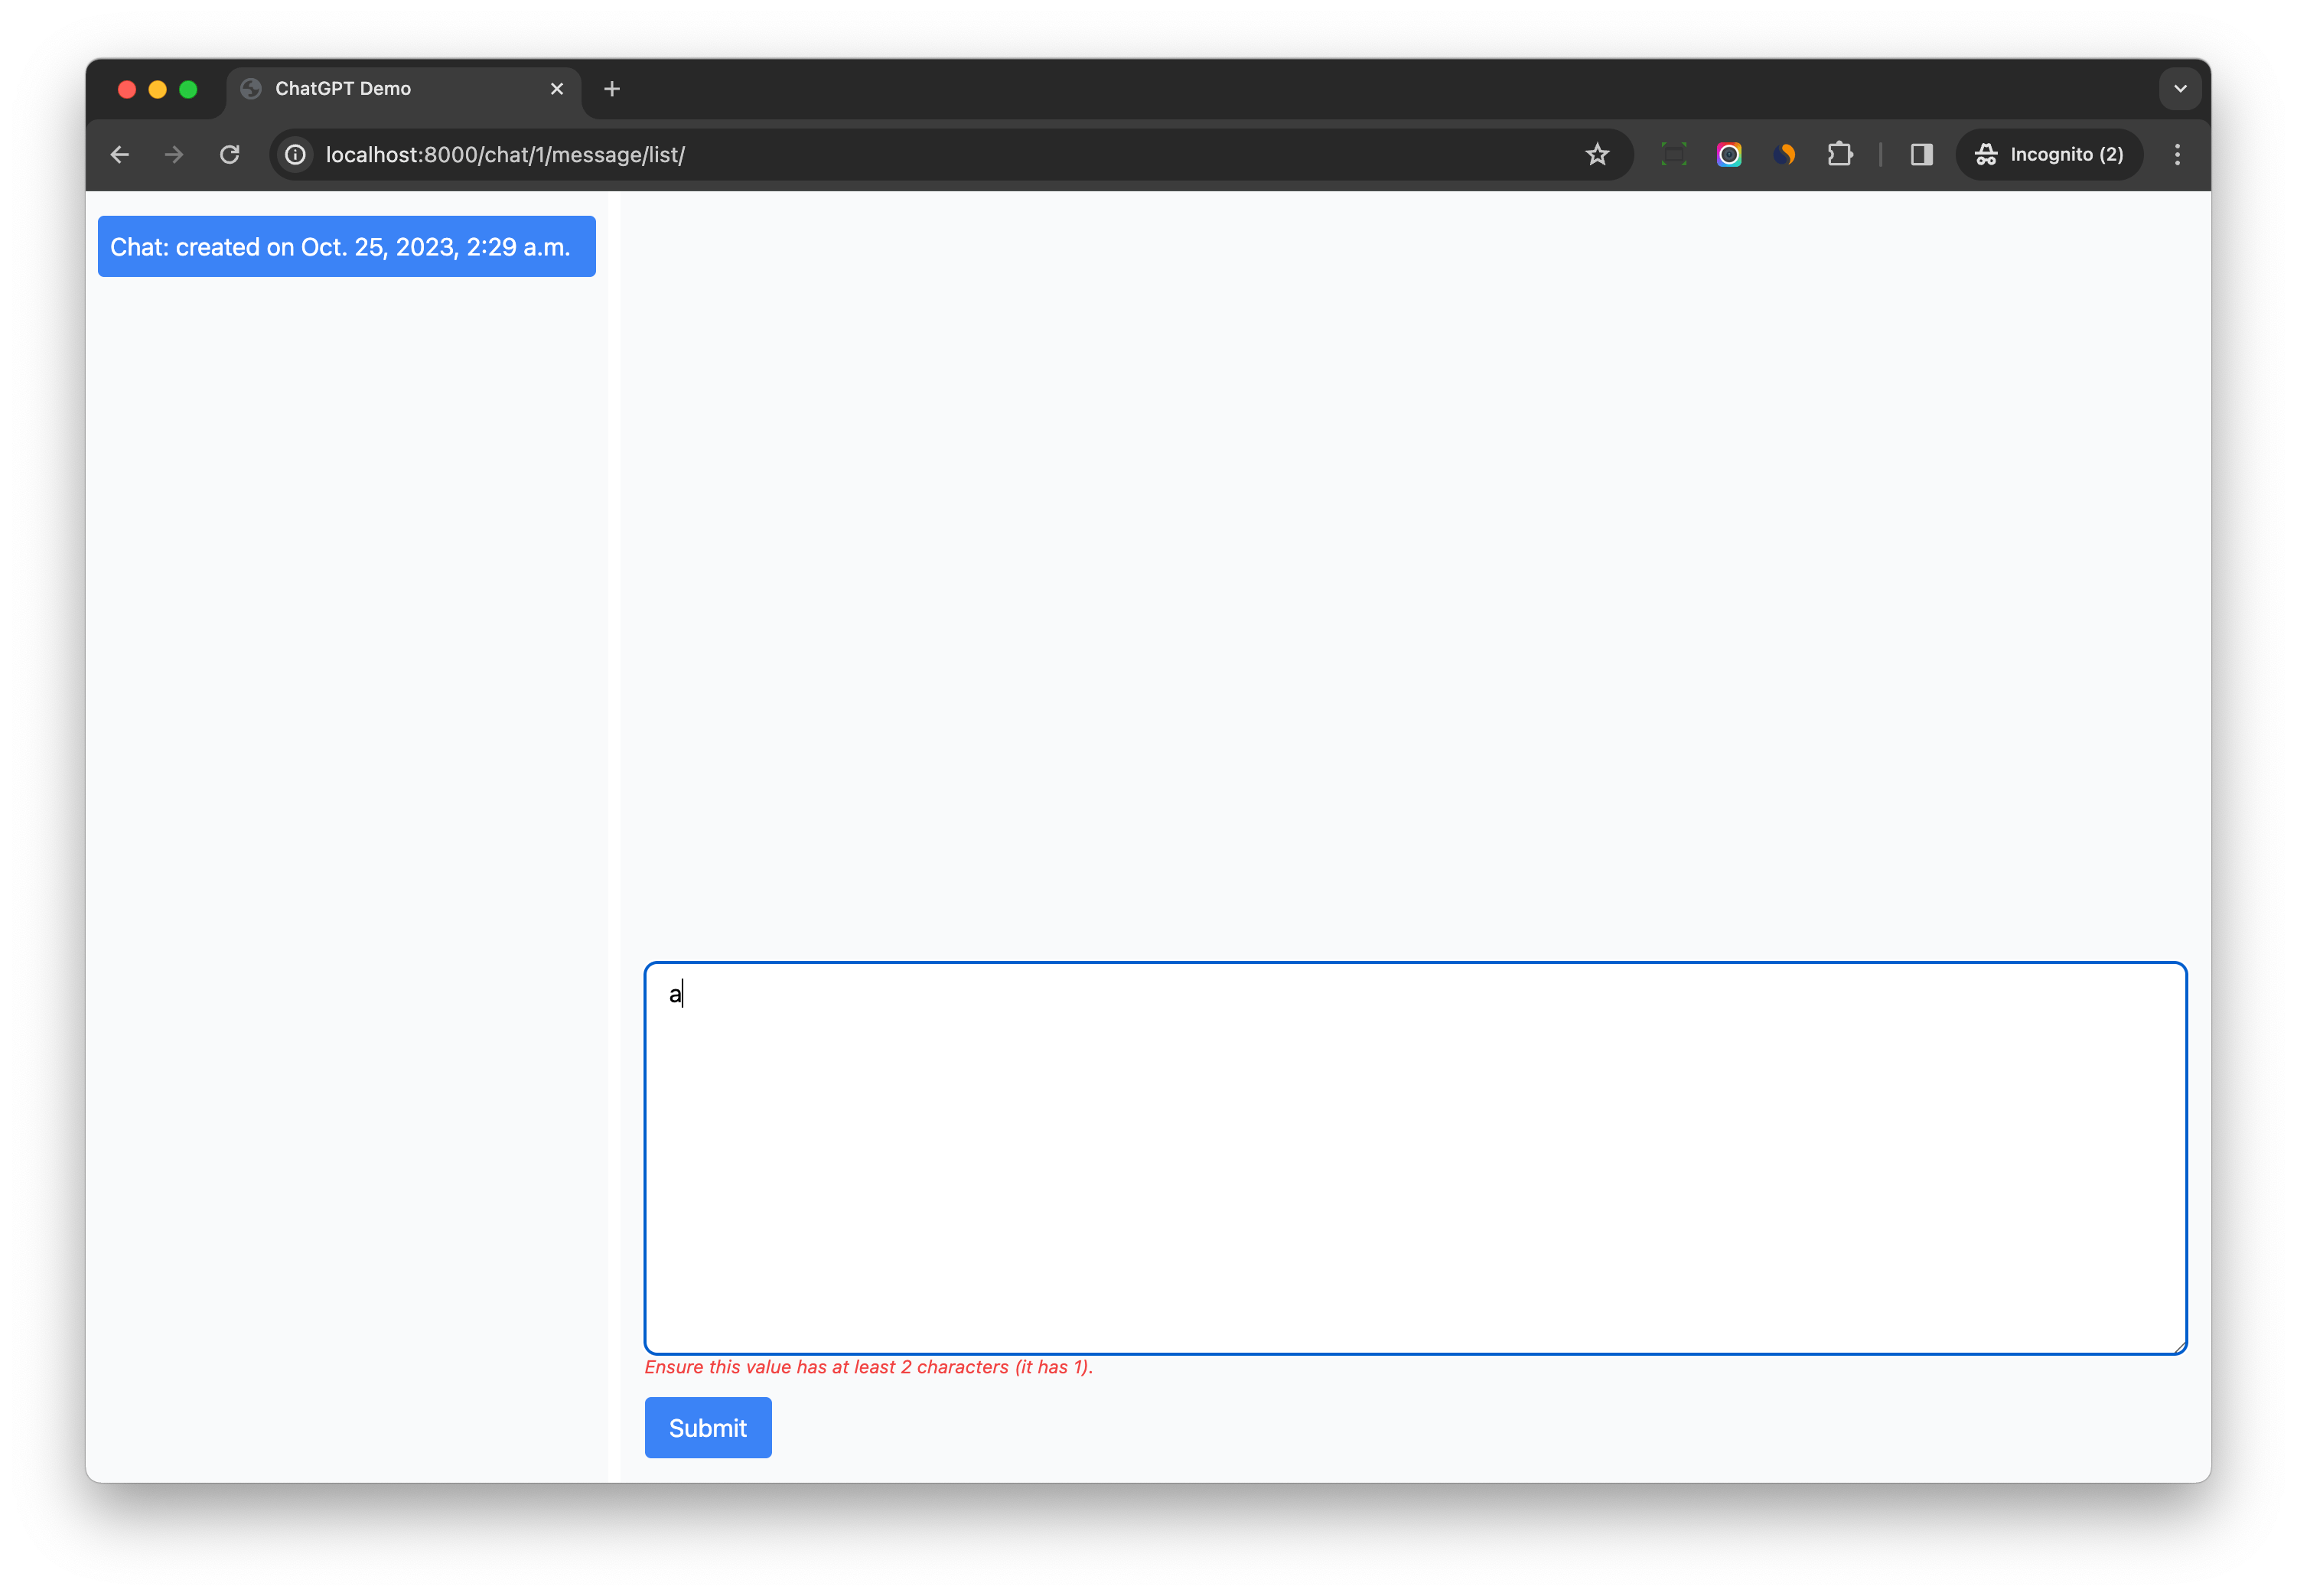
Open devtools to check the network tab, and we can see HTML returned by http://localhost:8000/chat/1/message/create/
<turbo-frame id="message-create-frame">
  <form
          method="post"
          action="/chat/1/message/create/"
          class="p-2 m-2"
  >
    <input type="hidden" name="csrfmiddlewaretoken" value="rbw1NbabXrqI5q2YlHlveUrfVsUByeezrwKHVWLeha2RQsoHfM5N6qrmP0mQf8gj">

    <div class="mb-3">
      <textarea name="content" cols="40" rows="10" class="rounded-lg border-gray-300 block leading-normal border px-4 text-gray-700 bg-white focus:outline-none py-2 appearance-none w-full" required id="id_content">
3</textarea>

      <div class="text-xs italic text-red-500">
        <ul class="errorlist"><li>Ensure this value has at least 2 characters (it has 1).</li></ul>
      </div>
    </div>

    <button type="submit"
            class="transition-all bg-blue-500 hover:bg-blue-600 text-white py-2 px-4 rounded"
    >
      Submit
    </button>

  </form>
</turbo-frame>
Notes:
- With Turbo frame, the page can do partial updates and display the form error message from the server.
- We do not write any Javascript to make that happen, just traditional Django form validation code and
turbo-frameelement.
Test 3
If we input long text in the form, and submit, the form will pass the validation.
A message instance would be created, a new form will be created and returned by http://localhost:8000/chat/1/message/create/
So the form is reset and ready for the next message.
<turbo-frame id="message-create-frame">
  <form
    method="post"
    action="/chat/1/message/create/"
    class="p-2 m-2"
  >
    <input type="hidden" name="csrfmiddlewaretoken" value="KAEbkd8R0ZuwOT9R2xIF1UxuSLJYl5nmKVSRsYJUkI6FzVvAWCsXTqxBMjbd2Zp6">

    <div class="mb-3">
      <textarea name="content" cols="40" rows="10" class="rounded-lg border-gray-300 block leading-normal border px-4 text-gray-700 bg-white focus:outline-none py-2 appearance-none w-full" required id="id_content">
</textarea>

      <div class="text-xs italic text-red-500">

      </div>
    </div>

    <button type="submit"
            class="transition-all bg-blue-500 hover:bg-blue-600 text-white py-2 px-4 rounded"
    >
      Submit
    </button>

  </form>
</turbo-frame>
Django ChatGPT Tutorial Series:
- Introduction
- Create Django Project with Modern Frontend Tooling
- Create Chat App
- Partial Form Submission With Turbo Frame
- Use Turbo Stream To Manipulate DOM Elements
- Send Turbo Stream Over Websocket
- Using OpenAI Streaming API With Celery
- Use Stimulus to Better Organize Javascript Code in Django
- Use Stimulus to Render Markdown and Highlight Code Block
- Use Stimulus to Improve UX of Message Form
- Source Code chatgpt-django-project